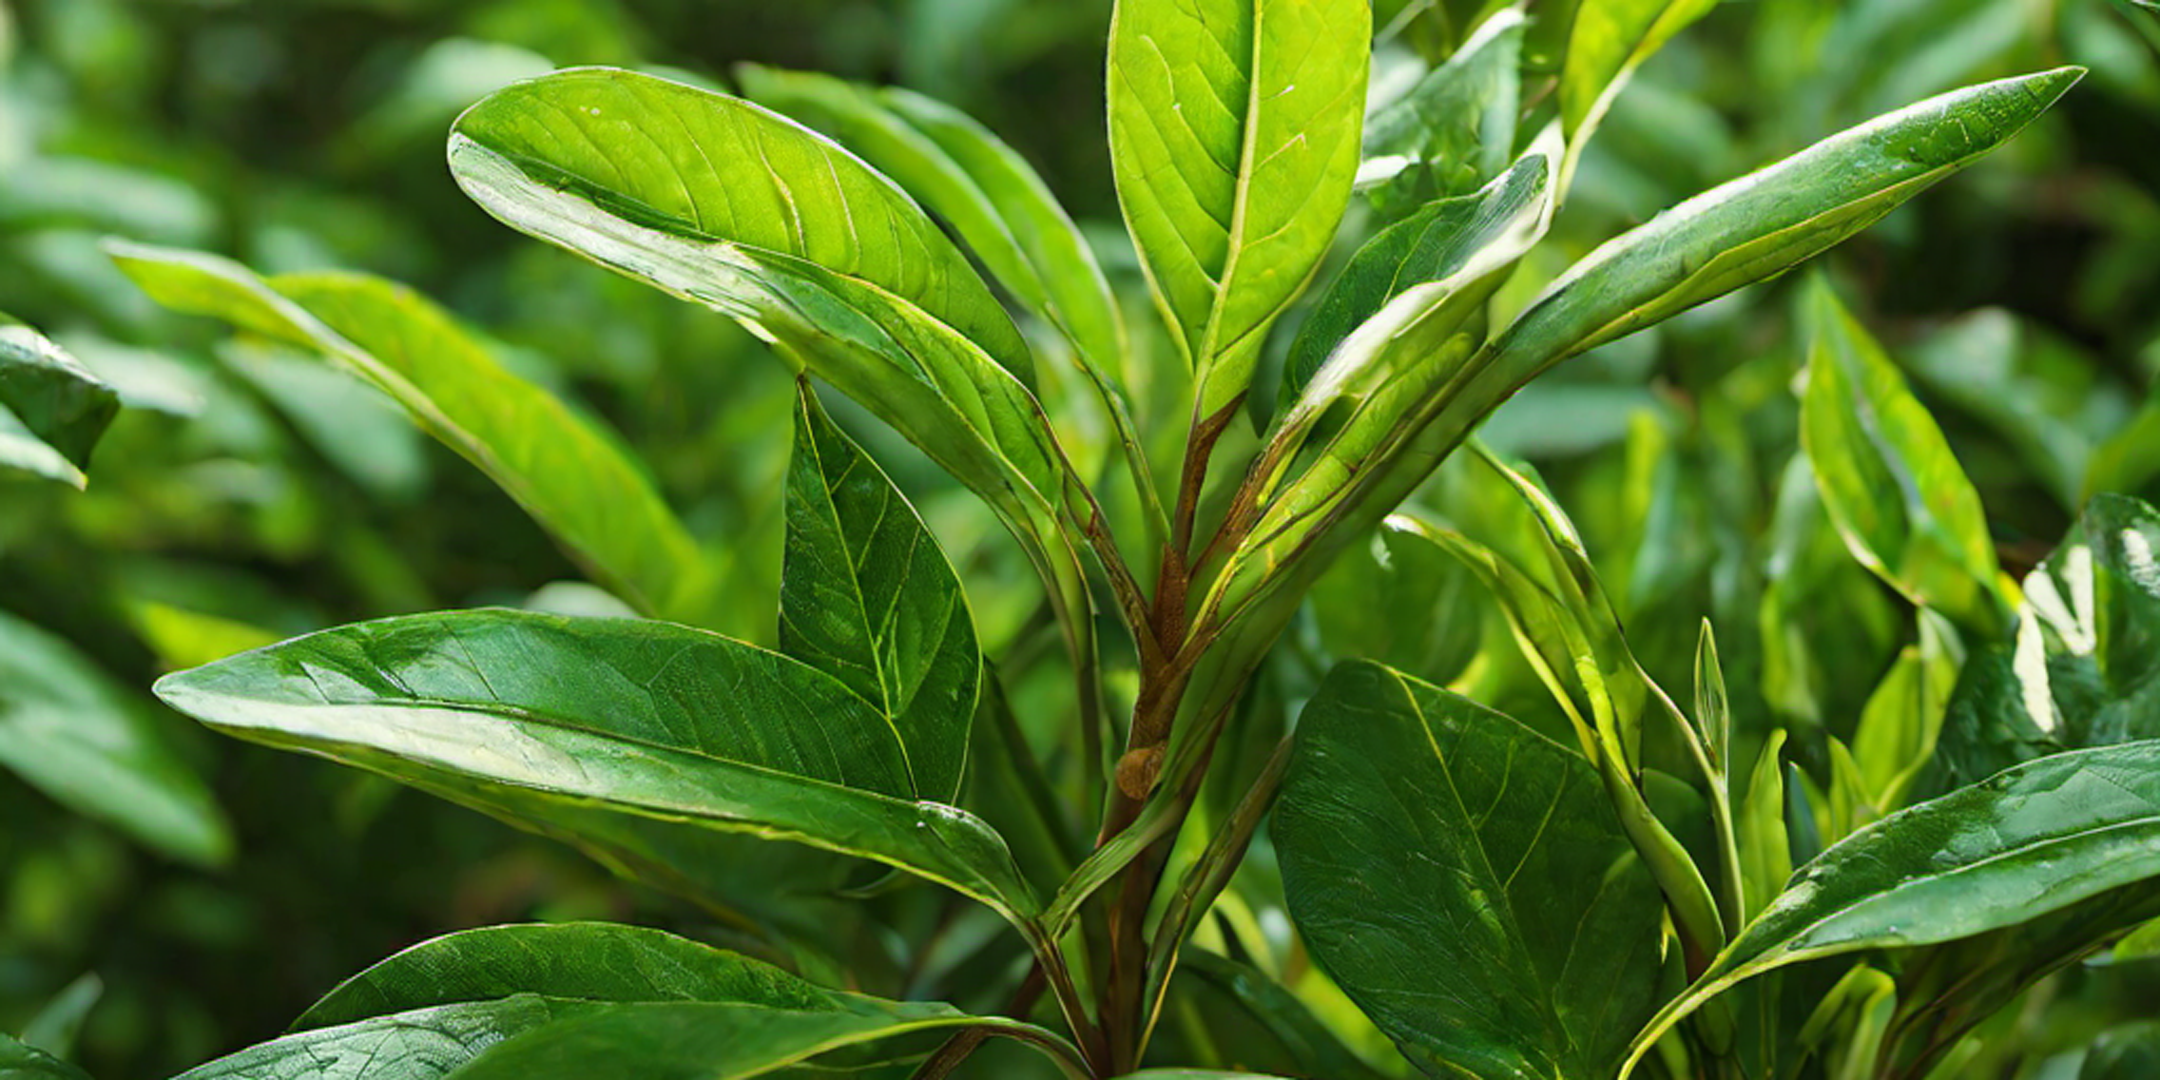
Tea is one of the most loved beverages around the world, enjoyed for its refreshing taste and numerous health benefits. Many tea lovers might be surprised to learn that they can grow their own tea at home. Whether you have a garden or just a small balcony, growing tea plants can be a rewarding and enjoyable experience. In this blog, we will guide you through the process of growing your own tea, from selecting the right plant to harvesting and processing your leaves.
1. Choosing the Right Tea Plant
The tea that we commonly drink comes from the Camellia sinensis plant. There are two main varieties to choose from:
-
Camellia sinensis var. sinensis: A smaller-leaved variety that thrives in cooler climates.
-
Camellia sinensis var. assamica: A larger-leaved variety suited for warmer, tropical climates.
Choose the variety that best suits your local climate to ensure a healthy plant.
2. Finding the Ideal Growing Conditions
Tea plants grow best in mild, humid climates with well-draining, acidic soil (pH between 5.5 and 6.5). If you live in an area with cold winters, consider growing your tea plant in a pot so you can bring it indoors when needed.
-
Sunlight: Tea plants need partial shade to full sun. Too much direct sunlight can scorch the leaves, so filtered sunlight is ideal.
-
Soil: Use loamy, well-draining soil enriched with organic matter to encourage strong root growth.
-
Temperature: Tea plants prefer temperatures between 15°C to 30°C (60°F to 85°F).
-
Watering: Keep the soil moist but not soggy. Overwatering can cause root rot.
3. Planting Your Tea Plant
-
From Seeds: Growing tea from seeds takes patience as germination can take several weeks. Soak seeds in warm water for 24 hours before planting in small pots with well-draining soil.
-
From Cuttings: A quicker method is to take semi-hardwood cuttings from an existing plant and plant them in moist soil.
-
Spacing: If planting multiple tea plants, space them at least 3-5 feet apart to allow them room to grow.
4. Caring for Your Tea Plant
Once your plant is established, proper care is crucial for healthy growth.
-
Pruning: Regularly prune to maintain a bushy shape and encourage new leaf growth.
-
Fertilizing: Use organic compost or tea-specific fertilizers every few months to nourish the plant.
-
Pest Control: Watch out for pests like aphids and mites. Use natural remedies such as neem oil to keep them away.
5. Harvesting Tea Leaves
After about 2-3 years, your tea plant will be ready for harvest. Young, tender leaves and buds produce the best tea.
-
Plucking: Pick the top two leaves and a bud for the highest quality tea.
-
Frequency: You can harvest every few weeks during the growing season.
6. Processing Your Homegrown Tea
"The methods used to process tea create the different tea types:
-
Green Tea: Steam or pan-fry fresh leaves to prevent oxidation, then dry them.
-
Black Tea: Allow leaves to oxidize until they turn dark, then dry them.
-
Oolong Tea: Partially oxidize the leaves before drying.
-
White Tea: Simply air-dry young leaves and buds without oxidation.
7. Enjoying Your Homemade Tea
After drying your tea leaves, store them in an airtight container away from light and moisture. When ready to enjoy, steep your homegrown tea in hot water and savor the fresh, natural taste of your own hard work!
Final Thoughts
Growing your own tea is a fulfilling experience that allows you to enjoy fresh, chemical-free tea from your garden. With the right care and patience, you can cultivate a thriving tea plant and experiment with different types of tea. Whether you love green tea, black tea, or oolong, there is nothing quite like sipping a cup of tea made from leaves you grew yourself!


